Connecting Wandkit to Studio
Alireza Fard
16/11/2025
Wandkit is a set of tools that help you to build apps faster with hotReload in Kotlin/Android and Swift/iOS.
What Wandkit Does
Wandkit connects your app to Studio during development. Without it, you're building blind, making changes in Studio and hoping they work when you eventually deploy. With it, you see changes immediately on your device as you work.
The core component is DevKit, it provides hotReload capability to your app with out changing anything else.
The Problem It Solves
Without Wandkit, your workflow looks like this:
- Design something in Studio
- Save your changes
- Build your app
- Deploy to device
- Wait for the app to fetch the new configuration
- See if it worked
- Repeat
With Wandkit:
- Design something in Studio
- See it on your device immediately
The time you save adds up fast when you're iterating on layouts or testing different component arrangements.
Setting Up Wandkit
Android Setup
Add the Wandkit dependency to your app's build.gradle file:
dependencies {
    implementation("io.nativeblocks:nativeblocks-wandkit-android:1.1.0")
}
Initialize DevKit in your Application class. Two important points: initialize it after Nativeblocks SDK, and wrap it in a debug check so it never runs in production:
import android.app.Application
import io.nativeblocks.core.api.NativeblocksManager
import io.nativeblocks.wandkit.DevKit

class MyApplication : Application() {

    override fun onCreate() {
        super.onCreate()

        // Initialize Nativeblocks SDK
        NativeblocksManager.initialize(
            // Your configuration here
        )

        // Configure DevKit for debug builds only
        if (BuildConfig.DEBUG) {
            val devKit = DevKit.Builder()
                .keepScreenOn()
                .autoConnect()
                .enableLogging()
                .build()

            NativeblocksManager.getInstance().wandkit(devKit)
        }
    }
}
iOS Setup
Add Wandkit to your Package.swift:
dependencies: [
    .package(url: "https://github.com/nativeblocks/nativeblocks-wandkit-ios-sdk", from: "1.0.7")
]
Initialize DevKit in your app. Same rules as Android: after Nativeblocks SDK, and wrapped in a debug check:
import SwiftUI
import Nativeblocks
import NativeblocksWandkit

@main
struct MyApp: App {
    init() {
        NativeblocksManager.initialize(
            // Your configuration here
        )

        #if DEBUG
        let devKit = DevKit.Builder()
            .keepScreenOn()
            .autoConnect()
            .enableLogging()
            .build()

        NativeblocksManager.getInstance().wandKit(devKit)
        #endif
    }

}
Connecting to Studio
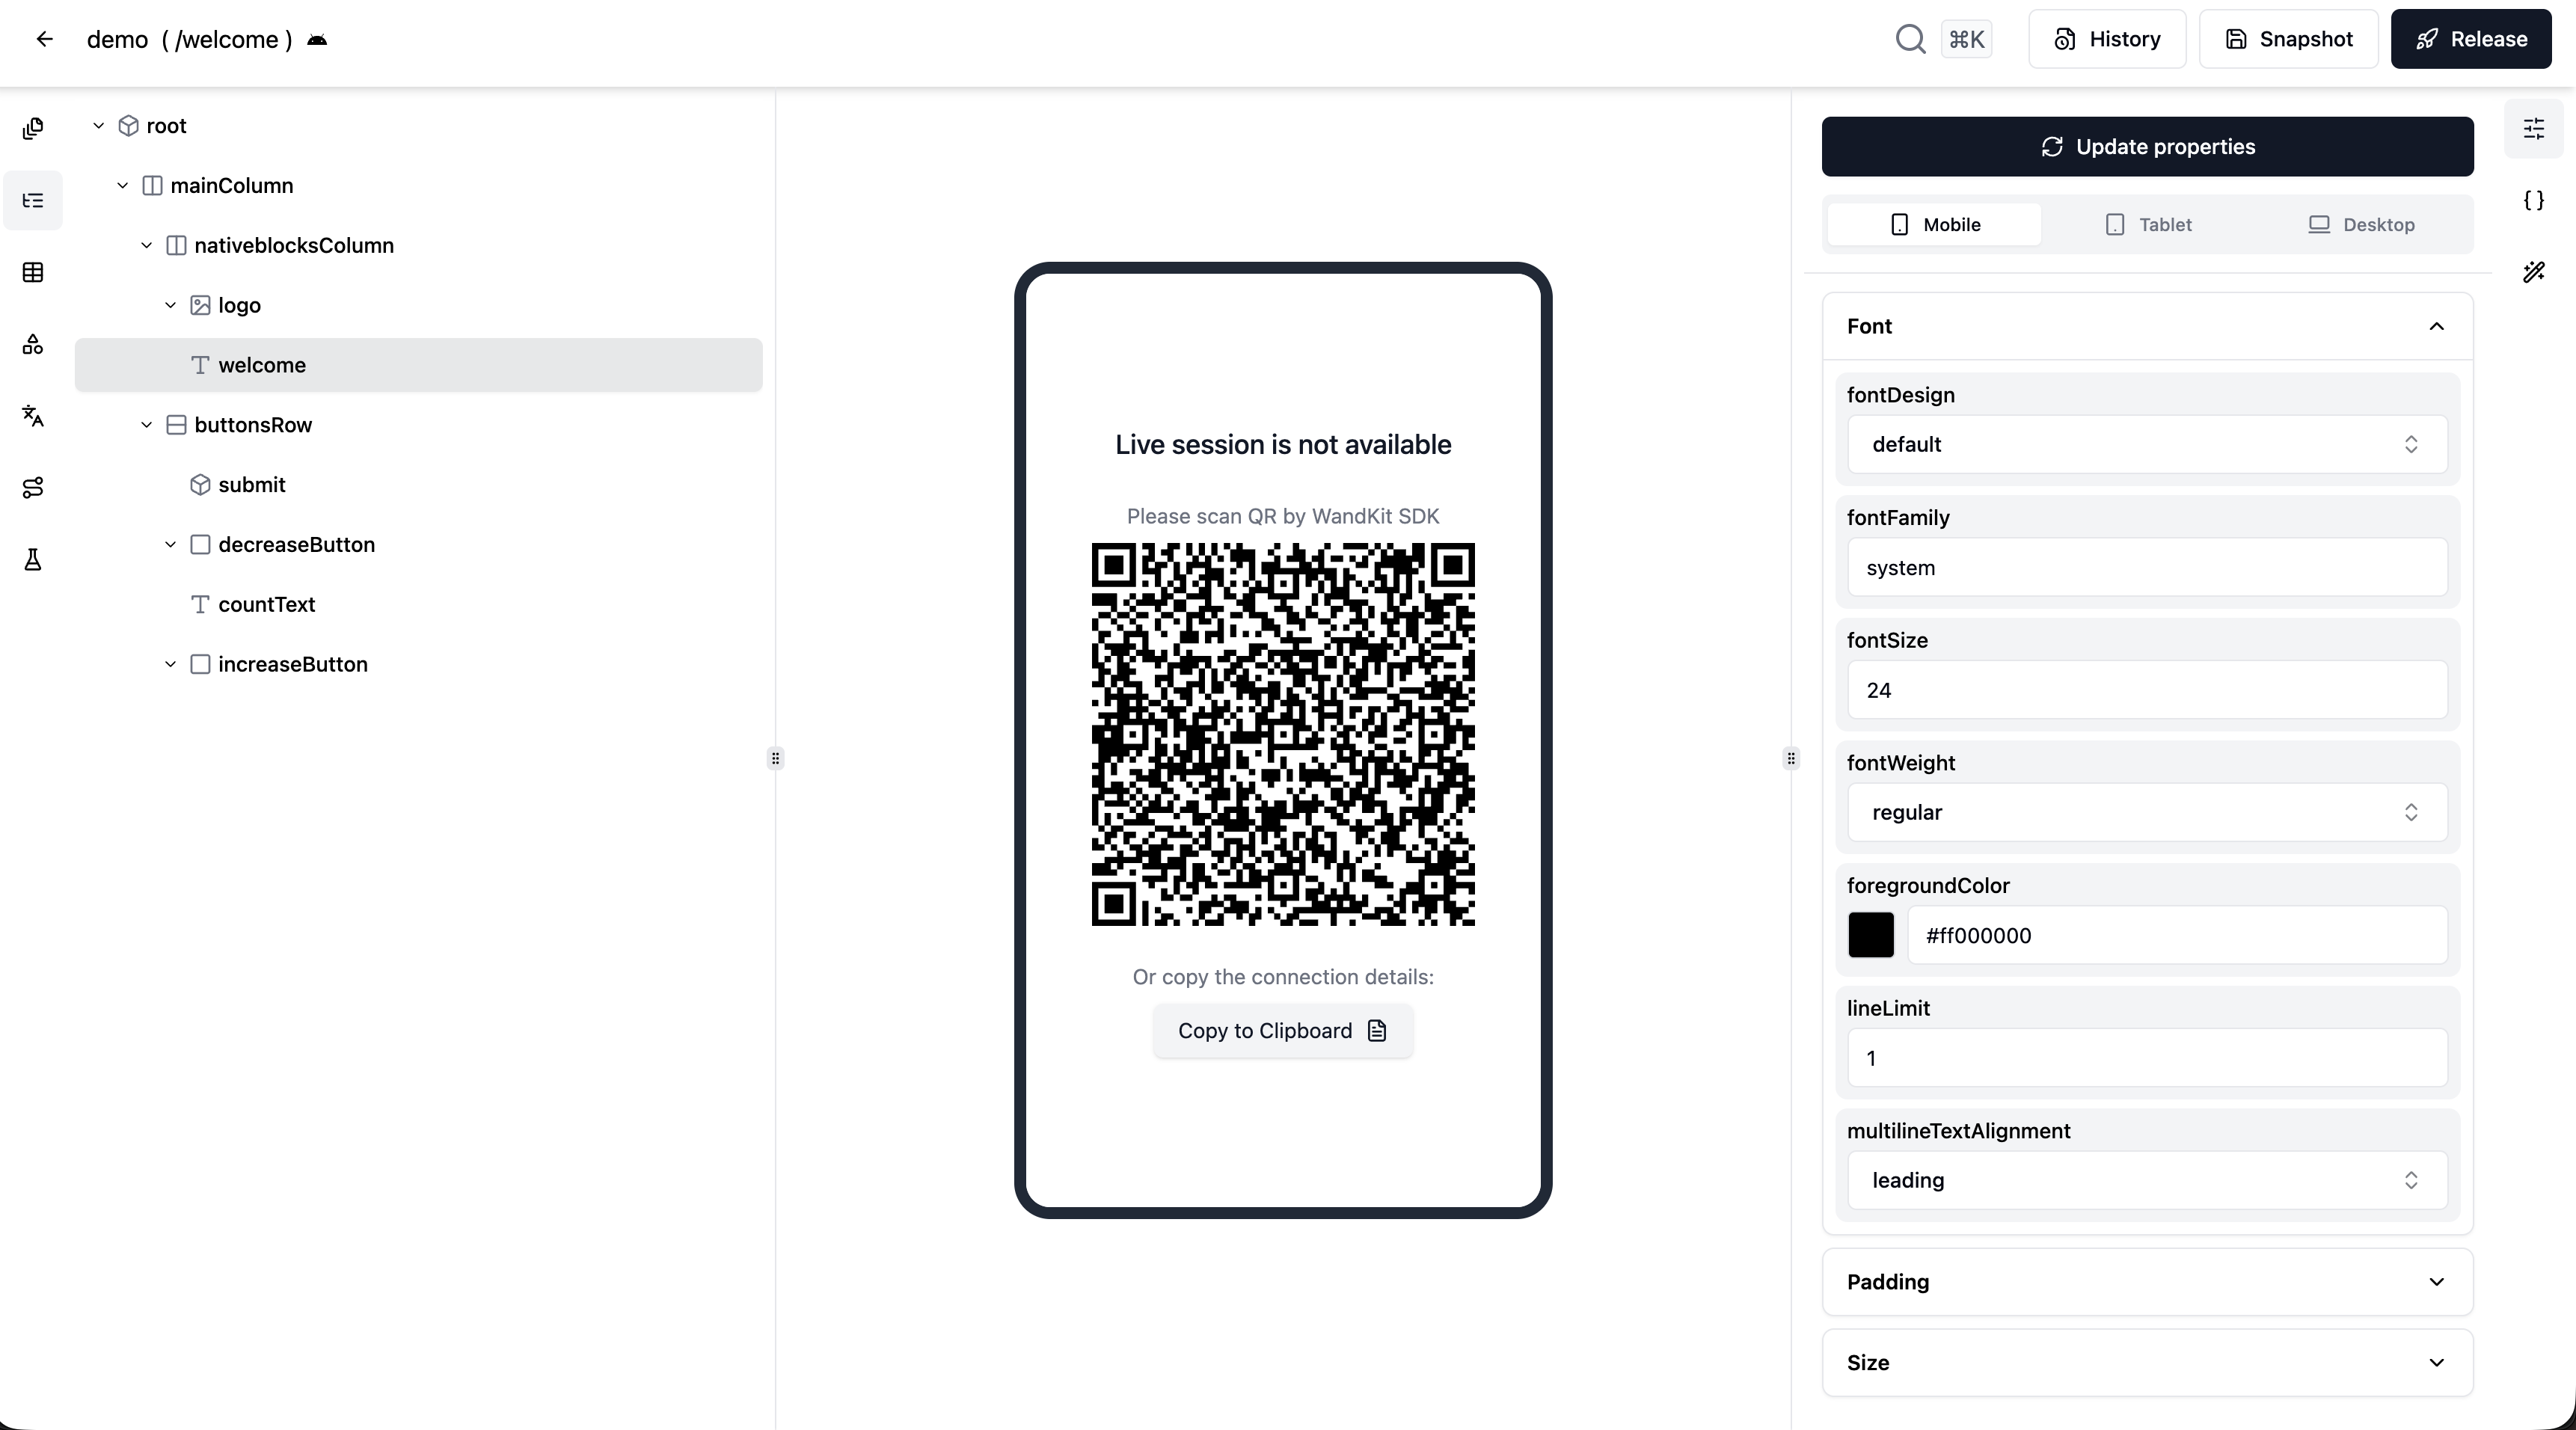
Run your app in debug mode. Open Studio in your browser. In the middle of the Studio screen, you'll see a QR code and a token.
You have two options to connect:
Option 1: Scan the QR code Open your app and scan the QR code displayed in Studio. The connection establishes immediately.
Option 2: Copy the token Copy the token from Studio and paste it into your app. Same result.
Once connected, make changes in Studio and watch them appear on your device in real-time. No rebuild needed.
Configuration Options
DevKit has three settings you can configure with the Builder pattern:
keepScreenOn(): Call this method to prevent your device from sleeping during development. Skip it if you don't need this feature.
autoConnect(): Call this method to automatically connect to Studio when your app starts. Skip it if you want manual control over when the connection happens.
enableLogging(): Call this method to enable real-time log streaming to Studio. This sends your app logs to Studio for debugging. Skip it if you don't need logging.
All methods are optional—only call the ones you need.
Things to Remember
Only use Wandkit in debug builds. The examples above show how to wrap it in BuildConfig.DEBUG or #if DEBUG. This is important because you don't want this code running in production.
Initialize after Nativeblocks SDK. Wandkit depends on the SDK being initialized first.
Network access matters. Your device and Studio need to be able to communicate. For local development, same network usually works. For cloud projects, check your network configuration.
When Things Don't Work
App won't connect to Studio:
- Check that Wandkit is initialized after Nativeblocks SDK
- Make sure you're running a debug build
- Verify permissions are granted
- Check network connectivity
Screen keeps turning off:
- Call
.keepScreenOn()on the DevKit Builder - Check permissions in your manifest or Info.plist
Changes not showing up:
- Call
.autoConnect()on the DevKit Builder - Check your network connection
- Make sure you're connected to the right Studio environment
Logs not appearing in Studio:
- Call
.enableLogging()on the DevKit Builder - Verify your app is connected to Studio
- Check that you're looking at the correct project in Studio
What You Get
After setting up Wandkit, you can design in Studio and see results immediately on your device. No more build-deploy-test cycles for UI changes. No more guessing if something will work.
The setup takes maybe ten minutes. The time you save on the first day of development makes it worth it.
If you're building with Nativeblocks and haven't set up Wandkit yet, do it. You're making development harder than it needs to be.